

 (02) 8365 2618-21
 inquiry@centurychemicals.com
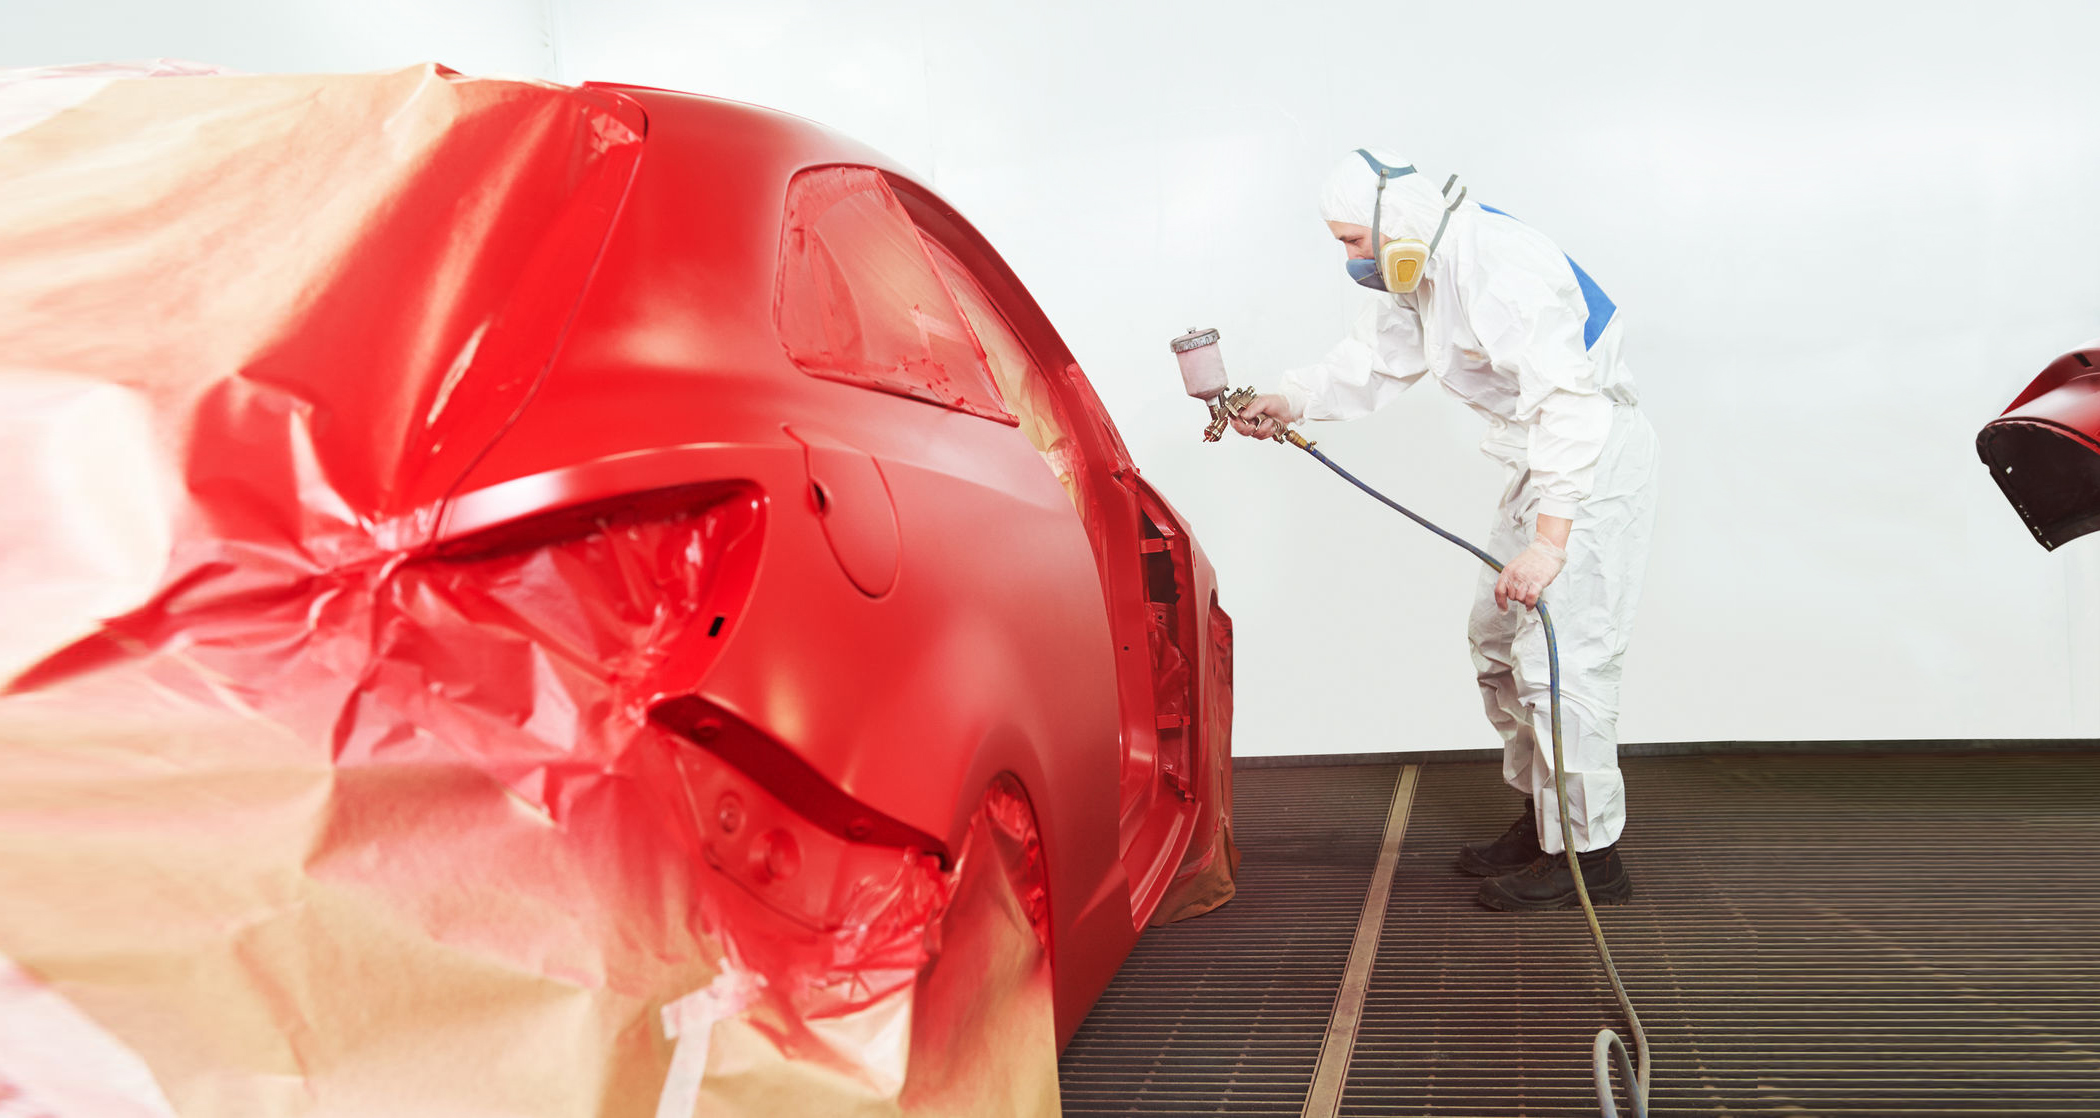
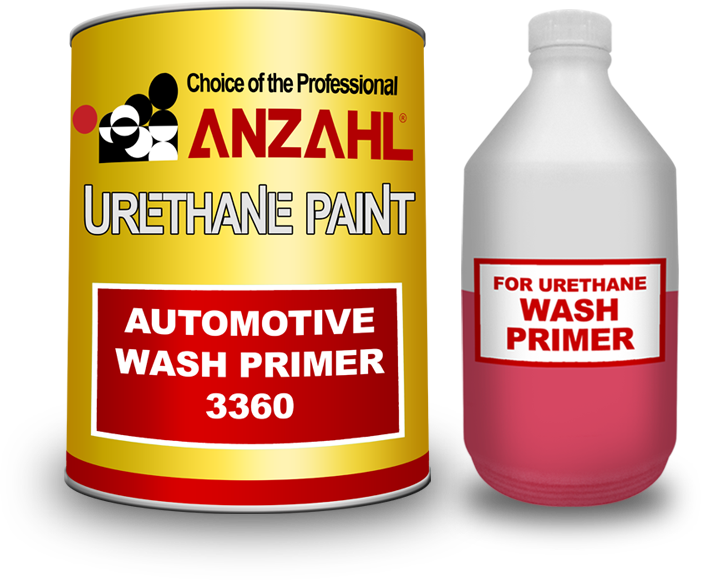
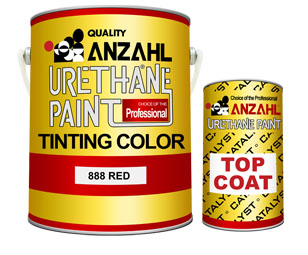
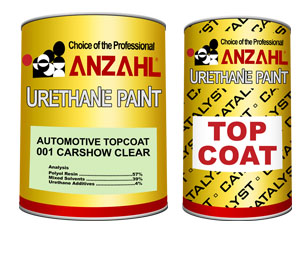
Automotive Paints
Being the pioneer of Polyurethane Paint in the country, explore a wide array of top-notch products known for its superior durabitlity and exceptional finish that compliments your ride.
Architectural Paints and Coatings
From roof to ground, check out the different swatches of protective and decorative coatings that favors your required specifications.
Adhesives and Sealants
Browse our reliable and durable adhesives and sealants that is suitable for different applications and made compatible with specific substrates.
Cleaners and Disinfectants
As a diverse company, we also showcase household products that are efficient and effective in assisting your daily needs.
Consumables
We also offer consumable products for architetural and automotive uses. Browse into these quality products that will play a big help in achieving your desired finish.
Special Products
For items with unique requirements feel free to browse the initial list of special brands that we offer. For other provisions of your desired product send us a message for further inquiries.
Paint Calculator
Still guessing? Click below and let us help you estimate what and how much paint you need for your paint job.